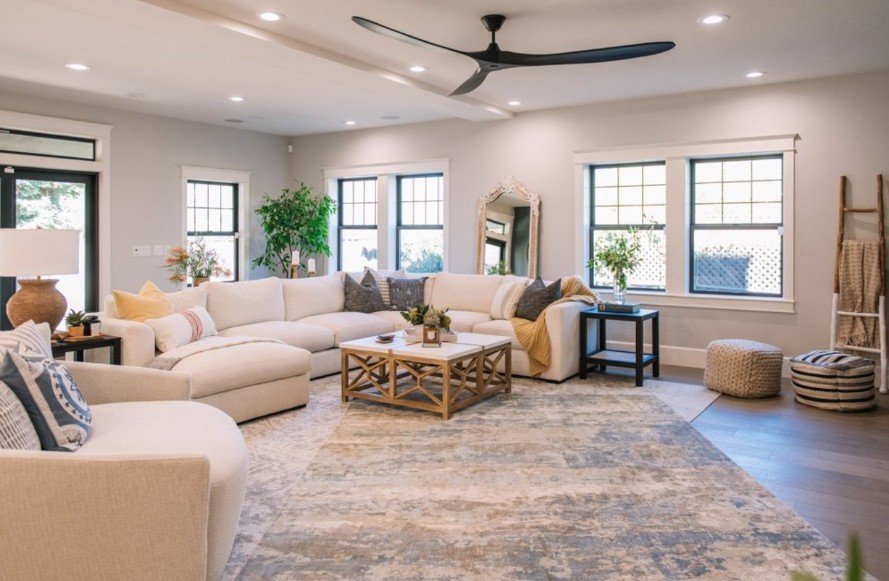
Taking on a whole house renovation is both exciting and overwhelming. I remember the first time I tackled one—it started with a “simple” kitchen update and somehow snowballed into redoing every room. The process was messy, expensive, and full of surprises (like discovering outdated electrical wiring hidden behind the walls). But in the end, it was worth it. If you’re considering a full home renovation, here’s a step-by-step guide to help you stay organized, on budget, and (somewhat) sane.
1. Set a Realistic Budget
Before you even pick up a hammer, figure out how much you can afford to spend. I made the mistake of estimating costs too loosely, only to be hit with unexpected expenses. A good rule of thumb is to get quotes from contractors, then add 20% for surprise costs (because there will always be surprises). Be sure to include permits, labor, materials, and temporary housing if needed.
2. Prioritize Renovation Goals
Not everything needs to be done at once. Ask yourself:
-
What’s essential for safety (wiring, plumbing, roof repairs)?
-
What adds the most value (kitchen, bathrooms, flooring)?
-
What can wait?
When I renovated my house, I wanted a dream kitchen, but the old plumbing had to be replaced first. Making a priority list keeps your renovation on track and prevents overspending on cosmetic upgrades before handling structural needs.
3. Hire the Right Professionals (or Know When to DIY)
Some tasks are perfect for DIY, but others—like electrical work, plumbing, and structural changes—are best left to the pros. I once tried tiling a bathroom myself, and let’s just say the results weren’t exactly straight. If you’re hiring contractors, get multiple bids, check references, and ensure they’re licensed and insured.
4. Get the Necessary Permits
Skipping permits can lead to legal issues and expensive fines. I once knew someone who installed a deck without a permit, only to be forced to tear it down when they tried to sell the house. Contact your local city or county office to find out what permits you need for structural changes, plumbing, or electrical work.
5. Create a Timeline (and Expect Delays)
Renovations always take longer than planned. If you think your project will take three months, plan for five. Weather, back-ordered materials, and contractor schedules can all cause delays. I found it helpful to break my renovation into phases, tackling one area at a time instead of trying to do everything at once.
6. Start with Structural and Major Systems First
Before you focus on aesthetics, handle the big stuff:
-
Roofing – Leaks or missing shingles? Fix this first.
-
Foundation & Structural Repairs – Cracks in the foundation or sagging floors need immediate attention.
-
Plumbing & Electrical – Outdated wiring and old pipes can be safety hazards. Upgrade them before putting in new walls or floors.
-
HVAC System – If you’re replacing or upgrading your heating and cooling, do it before finishing walls and ceilings.
Ignoring these can lead to costly rework down the road.
7. Update the Kitchen and Bathrooms
Kitchens and bathrooms give the highest return on investment, but they’re also the most expensive to renovate. I learned the hard way that custom cabinetry can take months to arrive—so order materials early! Focus on quality, timeless finishes, and functional layouts rather than just trendy designs
8. Choose Durable, Low-Maintenance Materials
It’s tempting to go for the prettiest materials, but think long-term. I once installed beautiful white marble countertops, only to find out they stained easily. Lesson learned! Here are some smart material choices:
-
Quartz countertops (instead of high-maintenance marble)
-
Luxury vinyl plank flooring (more durable than hardwood for busy households)
-
Matte black or brushed nickel fixtures (fingerprint-resistant and stylish)
9. Don’t Forget Energy Efficiency Upgrades
A whole-house renovation is the perfect time to improve energy efficiency. Adding better insulation, energy-efficient windows, and smart thermostats can lower your utility bills. I replaced all my old single-pane windows with double-pane, and my heating costs dropped immediately.
10. Add Smart Home Features
Technology can make daily life easier. I added a smart security system, thermostat, and lighting controls during my renovation, and now I can control everything from my phone. If you’re rewiring, consider adding outlets with USB ports or installing smart switches for added convenience.
11. Focus on Curb Appeal
Your home’s exterior is just as important as the interior. Simple upgrades like a fresh coat of paint, new house numbers, modern outdoor lighting, and updated landscaping can make a huge difference. I swapped out my old front door for a modern one with glass panels, and it instantly boosted curb appeal.
12. Final Touches: Paint, Decor, and Personalization
Once the major renovations are done, it’s time to make the house feel like home. Choose paint colors that reflect your style, add furniture that fits the space, and don’t forget little details like art, rugs, and window treatments. I kept my walls neutral and used decor to add pops of color, making it easy to switch up the look over time.
Final Thoughts: Plan, Be Patient, and Enjoy the Process
A whole house renovation is a massive project, but it’s also incredibly rewarding. There will be setbacks, unexpected expenses, and stressful moments—but seeing your vision come to life is worth it. Plan thoroughly, stay flexible, and don’t be afraid to ask for help when needed. In the end, you’ll have a home that’s not just renovated but truly yours.


