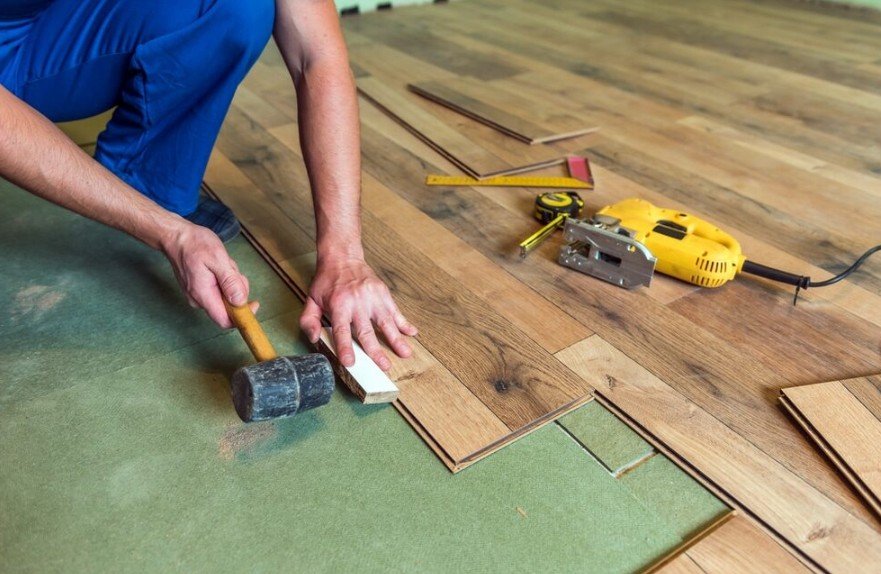
I still remember my first attempt at installing flooring—it was supposed to be a weekend project, but somehow, it stretched into two weeks of frustration, sore knees, and a few choice words I won’t repeat here. If you’re about to take on a flooring installation project, I want to save you from making the same mistakes I did. Whether you’re laying down hardwood, laminate, or tile, a few key tips can make all the difference.
1. Measure Twice, Buy a Little Extra
Nothing throws a project off like realizing you don’t have enough flooring halfway through. I learned this the hard way when I underestimated my square footage and had to rush to the store—only to find out they just sold out of my flooring style. Always measure carefully, then add at least 10% extra for cuts, mistakes, and future repairs. Trust me, that extra box of flooring will save you a major headache later.
2. Acclimate Your Flooring Before Installing
I made the rookie mistake of installing laminate flooring straight out of the box. A few weeks later, it started buckling and separating because it hadn’t adjusted to my home’s humidity. Most flooring materials—especially hardwood and laminate—need at least 48 hours in the room where they’ll be installed. This lets them expand or contract naturally before they’re locked in place.
3. Prep the Subfloor Like a Pro
A bad subfloor equals a bad floor. I once installed vinyl plank flooring over an uneven subfloor, thinking it wouldn’t matter much. Spoiler: it did. The planks didn’t lock properly, and some areas felt bouncy underfoot. Before installing anything, make sure your subfloor is clean, dry, and level. If it’s uneven, use a self-leveling compound or sand down high spots.
4. Choose the Right Underlayment
Underlayment might not seem like a big deal, but it makes a huge difference in comfort and durability. For laminate or vinyl, a good underlayment adds cushioning and soundproofing. For tile, a cement backer board prevents cracking. And if you’re installing flooring over concrete, a moisture barrier is non-negotiable.
5. Stagger Your Seams for a Natural Look
When I first laid out my planks, I didn’t think much about the pattern. Big mistake. If your seams line up too much, it looks unnatural and weakens the floor’s structure. A good rule of thumb is to stagger your planks by at least 6 inches so the seams don’t create a straight line across the room. It takes a little extra planning, but the final look is so much better.
6. Leave a Gap for Expansion
This one’s crucial, especially for hardwood and laminate. Wood expands and contracts with temperature and humidity changes, so if you install it too tightly against the walls, it can buckle. Always leave a small expansion gap (usually about ¼ inch) around the edges of the room. You can cover it later with baseboards or quarter-round molding.
7. Cut Planks Outside (If You Want to Breathe)
Flooring installation gets dusty. The first time I cut planks inside, my whole house was covered in sawdust, and my allergies went wild. If you’re using a saw, do yourself a favor—set up a cutting station outside or in the garage. Your lungs (and your vacuum) will thank you.
8. Don’t Rush the Finishing Touches
By the time you’re near the end of the project, it’s tempting to just slap on the baseboards and call it a day. But those little finishing touches—like caulking gaps, touching up trim, and properly securing transition strips—make all the difference in a professional-looking job. Take your time on these details, and your floor will look chef’s kiss perfect.
9. If You’re Unsure, Watch a Few Tutorials
No shame in learning from the pros! Before I tackled my first floor, I binge-watched YouTube tutorials and picked up a ton of useful tricks. Sometimes seeing someone else do it makes everything click. Plus, you can avoid the trial-and-error that comes with guessing.
10. Enjoy the Process (Even If You Mess Up)
Look, mistakes happen. I’ve miscut planks, glued tiles wrong, and even put down an entire row before realizing it was backward. But every mistake is a lesson, and there’s nothing more satisfying than stepping back and admiring a floor you installed. So, take your time, have patience, and enjoy turning your space into something beautiful!
Now grab your tools, put on some good music, and get to work—your new floor isn’t going to install itself! 😄


